
A new AC installation goes more smoothly when your home, access points, and expectations are ready before the crew arrives. In the Dallas-Fort Worth heat, that preparation can help technicians work efficiently and get your new system protecting indoor comfort sooner.
Schedule Service with Garland Heating and Air Conditioning to discuss your installation needs, or call (972) 278-3500.
To understand how to prepare for new ac installation, clear a path to the equipment. Move furniture away from vents, make the electrical panel accessible, and trim obstacles near the outdoor unit. Your HVAC professional should also confirm the system size for your home’s layout, insulation, windows, and sun exposure rather than relying on a rule of thumb alone. For broader planning, review our guide to professional HVAC installation services.
Garland Heating and Air Conditioning has served the DFW metroplex as a family-owned HVAC provider since 1952. The practical steps below explain why preparation matters and how a little advance organization can support a safer, more efficient installation.
In the Dallas-Fort Worth area, a new air conditioner has to do more than cool a house for a few hours. It must handle long stretches of intense Texas heat while helping your home stay comfortable and reasonably dry. Preparing before installation gives your HVAC team the access and information needed to install the system carefully, avoid preventable delays, and set it up for dependable performance.
Preparation starts with making sure the replacement system is matched to your home, not simply swapped in based on the old unit’s size. Your home’s floor plan, insulation, windows, shading, ceiling height, and sun exposure all affect how much cooling it needs. The U.S. Department of Energy notes that a general sizing guideline is about 20 BTUs per square foot of living space. But that figure varies with local climate and the home’s construction. You can review the Department of Energy’s air-conditioning guidance for additional context.
That is especially important across DFW, where two homes with the same square footage can have very different cooling demands. A professional evaluation helps your installer account for those differences before equipment is selected. When the system is too large, it may cycle on and off too frequently. The result can be inefficient operation, uneven comfort, and poor dehumidification, leaving rooms feeling cool but clammy.
Simple preparation can make the workday safer and more efficient. Clear the route from the entry door to the indoor equipment, move furniture away from air vents, and make sure the electrical panel is accessible. If the existing equipment is in an attic, closet, or utility room, remove stored items that could restrict the technician’s workspace. Fragile decorations, wall hangings, and obstacles along the equipment path should also be moved before the crew arrives.
These steps do not replace professional planning. They allow the technicians to focus on the important work, including verifying system sizing, checking connections, and confirming that the new equipment fits the home’s cooling needs. For a broader overview of equipment choices and the installation process, explore Garland Heating and Air Conditioning’s professional HVAC installation services.
Garland Heating and Air Conditioning is a family-owned HVAC provider that has served the Dallas-Fort Worth metroplex since 1952. That long local history matters when preparing for a replacement because homes, weather patterns, and comfort concerns differ from one community to the next. A practical conversation before installation can identify access issues, explain what the crew needs. And help you make a confident decision before the first tool comes through the door.
Knowing how to prepare for new AC installation starts with making the work areas easy to reach. A clear route helps the crew remove the old equipment, bring in the new system, and work safely around your home. Before installation day, walk the likely path from the entry door to the indoor equipment location. Then check the areas around vents, closets, the electrical panel, and the outdoor unit.
You do not need to rearrange your entire home. Focus on the spaces the technicians will use and protect items that could be damaged by moving equipment. These practical steps can help the appointment stay organized and reduce avoidable interruptions.
Leave fixed vents, electrical components, ductwork, and equipment connections for the HVAC professionals to evaluate. Avoid disconnecting the old system or moving heavy equipment yourself. If an attic hatch, gate, locked room, or narrow passage could affect access, mention it when scheduling service so the crew can plan for the property layout.
Once the paths are clear, take a final look at doors and gates the installers will use. Unlock them or arrange access in advance, and secure pets in a separate room. These small preparations give Garland Heating and Air Conditioning a safer, more efficient workspace and help the installation team focus on setting up your new system correctly.
AC installation involves moving equipment through the home, so a little preparation can help protect flooring, trim, painted walls, and nearby belongings. The installation crew needs a clear path to remove the old equipment and bring the new system inside. Before the appointment, walk that route from the entry door to the work area and look for anything that could be damaged or slow the work.
Place sturdy drop cloths or floor protection over high-traffic areas, especially hardwood, tile, and light-colored carpet. Secure the edges so the covering does not slide or create a tripping hazard. If the crew will cross a change in flooring, use protection that lies flat across the transition rather than relying on loose towels or thin plastic.
Hallways and doorways deserve extra attention because equipment can brush against corners while it is being carried. Remove door mats that bunch up, and consider taking a door off its hinges if it makes a narrow opening easier to use. Let the technicians know about delicate flooring, freshly painted walls, or tight turns before work begins so they can plan the safest route.
Move sofas, tables, plants, lamps, and other furniture away from the path and the installation area. Give the crew enough room to set down tools and maneuver equipment without pushing objects against a wall. If furniture cannot be moved to another room, place it well outside the work zone and cover it to reduce exposure to dust and debris.
Remove framed art, mirrors, shelves, and fragile decorations from walls near the route. Vibration and accidental contact can loosen items that seem secure. Store small breakable objects, collectibles, and electronics in a closed room or cabinet until the installation is complete. This is particularly important when equipment must pass beneath or beside wall-mounted decor.
Keep children and pets away from the route during the installation, and make sure exterior gates or doors are easy for the crew to access. Do not stack belongings in front of the electrical panel, vents, or equipment. Clear access helps the technicians work efficiently while reducing the chance that a rushed move will affect your floors or walls.
These steps are a practical part of professional HVAC installation services. A prepared route lets Garland Heating and Air Conditioning focus on a careful installation and helps you return the room to normal sooner.
The outdoor condenser needs more than a convenient spot beside the house. It needs room for technicians to connect, test, and service the system, along with unobstructed airflow once the installation is complete. A few simple preparations can make installation smoother and help protect the equipment from avoidable problems.
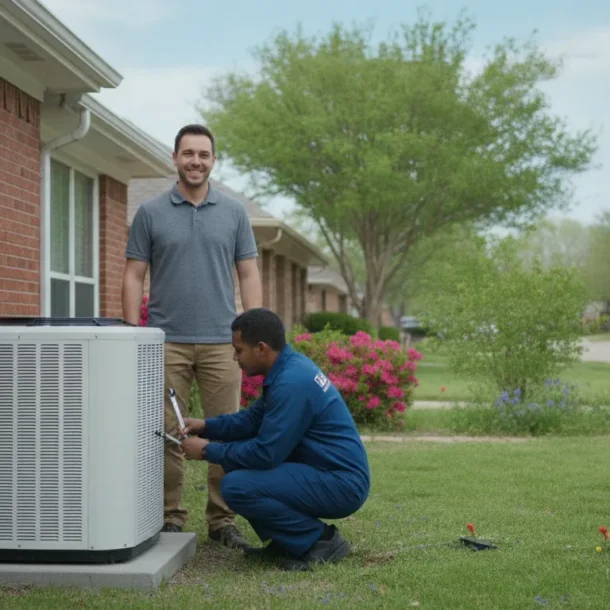
Start by trimming shrubs, vines, ornamental grasses, and tree branches that crowd the planned equipment location. Remove leaves, grass clippings, mulch piles, sticks, and other debris from the area. These materials can restrict airflow, collect around the cabinet, or make routine maintenance more difficult. If the existing unit is being replaced, clear the area before the crew arrives so they can safely disconnect and remove it.
Do not rely on landscaping to hide the equipment by placing dense plants directly against it. The condenser fan needs to discharge air, and service technicians need enough working room to reach panels, refrigerant connections, electrical components, and the surrounding lines. Your installer can confirm the practical clearance required for the specific model and the location’s access needs.
The condenser should sit on a stable, level base rather than uneven soil, loose gravel, or a surface that shifts after heavy rain. If the current base is cracked, tilted, sinking, or too small for the replacement equipment, the contractor may recommend a new equipment pad. Preparing the ground can involve removing unstable material, leveling the site, and creating a firm surface that supports the unit.
A level pad helps the equipment remain properly positioned and can reduce vibration caused by an unstable base. It also keeps the cabinet from sitting directly in wet soil or pooling water. The final recommendation depends on the equipment and the site, so avoid purchasing a pad based only on the dimensions of the old condenser. New systems may have different footprints and service-access requirements.
Outdoor placement is part of the overall system design, not an isolated landscaping decision. During the evaluation, the contractor considers the home’s size and layout, insulation, windows, and sun exposure when recommending the right system capacity and type. Those factors affect how the system serves the home and where the outdoor equipment can operate effectively.
Before installation day, walk the proposed route and equipment area with the contractor. Point out gates, drainage concerns, delicate plants, irrigation lines, outdoor outlets, and any area that becomes difficult to access after rain. Confirm where the pad will sit, which landscaping must be trimmed, and how the finished installation will leave space for airflow and future service. This preparation gives the crew a clear work area while helping ensure the new condenser is placed on a sound foundation in a location that supports reliable operation.
Attic work can be one of the more involved parts of an AC installation. Especially when the air handler, refrigerant lines, or duct connections are located above the living space. A little preparation makes the work area safer and helps the installation team move equipment without unnecessary delays.
Start by identifying the route technicians will use from the entry door to the attic access and then to the equipment location. Clear furniture, boxes, decorations, and other obstacles from hallways and rooms along that path. Technicians need clear access paths to remove old equipment and bring in the replacement system. Fragile items should be moved out of the work area rather than left where vibration, dust, or accidental contact could damage them.
If the access opening is in a closet, hallway, or garage, remove stored items from directly below and around it. Give the crew enough room to position ladders and carry tools safely. Keep the breaker panel accessible as well, since the installation may require electrical work and the system will need to be turned off and tested during the project.
Before work begins, the installation team will assess the space around the air handler and the condition of the connected ductwork. Do not place storage bins, clothing, or other belongings against the equipment. Leaving the area open gives technicians room to disconnect the old unit, inspect connections, and install the new equipment without compressing or damaging nearby ductwork.
Protect items that must remain nearby with suitable coverings, but do not block supply vents, return grilles, access panels, or equipment openings. A clear work zone also makes it easier to identify air leaks, damaged insulation, or duct sections that need attention. If the existing layout creates a difficult route, ask the contractor what access or ductwork changes may be needed before installation day.
Installation can disturb dust and debris in an attic or mechanical space. The Environmental Protection Agency recommends planning for ventilation and indoor air quality during remodeling work. Discuss how the crew will contain dust, protect the living area, and ventilate the work zone when appropriate. Keep children and pets away from the access area, and avoid storing clean linens, clothing, or uncovered household items beneath active work.
For a clearer view of the installation sequence and timing, review what to expect during your AC installation. Preparing the route, air-handler area. And nearby belongings ahead of time helps Garland Heating and Air Conditioning complete the work with less disruption while keeping the space ready for final testing.
A smooth installation starts with decisions made before the crew arrives. During your consultation, ask which approvals, electrical updates, equipment choices, and registration steps apply to your home. Clear answers help prevent avoidable delays and make it easier to understand what is included in your installation agreement.
| Question | Why it matters | Who handles it |
|---|---|---|
| Are permits or inspections required for this replacement? | Local requirements can affect scheduling, documentation, and the final sign-off for the work. | Ask your HVAC contractor which requirements apply and who will submit or coordinate them. |
| Can the existing electrical circuit safely support the new system? | Smaller units may use standard household circuits, while larger units often require dedicated circuits. Your home’s electrical system must meet the equipment requirements. | Your HVAC contractor should verify the unit requirements. A qualified electrician may need to complete electrical work. |
| How will warranty registration be completed? | Registration details and deadlines can vary by equipment manufacturer. Knowing the process helps you retain the documents you may need later. | Confirm whether the contractor registers the equipment or gives you the information to complete it. |
| Why was this equipment size and model selected? | A proper recommendation should reflect your home’s size and layout, insulation, windows, and sun exposure, not square footage alone. | Your HVAC contractor should explain the recommendation and how it fits your home’s conditions. |
Permit responsibility should be clear in writing before installation day. Ask whether the project requires a permit, whether the contractor obtains it, and whether an inspection is expected after the work. Requirements can differ by municipality across the Dallas-Fort Worth area, so do not assume a previous replacement followed the same process. Also ask when the permit or inspection could affect the installation schedule.
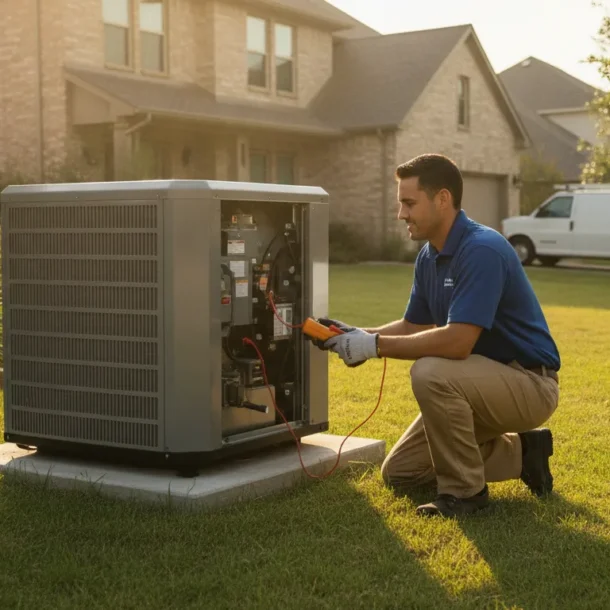
Ask the installer to review the existing disconnect, breaker, wiring, and available capacity against the selected system’s specifications. The U.S. Department of Energy notes that larger air-conditioning units often require dedicated circuits and recommends verifying that the home’s electrical system meets the unit’s requirements: air-conditioning guidance from the Department of Energy. If an upgrade is needed, confirm whether it is included in the quote or handled separately. Never move or alter electrical components yourself before the crew arrives.
Keep the model and serial numbers, installation date, contractor contact information, warranty terms, and registration confirmation together. Ask what labor coverage applies, which maintenance requirements are recommended, and whom to contact if the system needs service. Resolving these questions in advance gives you a clear record and a more predictable first day, especially during a busy DFW cooling season.
Once the installation crew has finished, take a few minutes to walk through the system with the technician. A new air conditioner should not simply turn on. It should respond to the thermostat, move air evenly, drain moisture properly, and operate without signs of stress. This final review also gives you a chance to ask questions while the installation details are still fresh.
Ask the technician to show you the thermostat settings and explain the operating modes, fan settings, filter reminders, and any available scheduling features. Set the system to cooling and let it run long enough to complete a normal cycle. Confirm that the thermostat reaches the set temperature and that the system shuts off instead of running continuously without improving comfort.
Pay attention to how the home feels during the first several cycles, especially in rooms that were previously too warm or humid. The Department of Energy notes that an oversized air conditioner can cycle on and off too frequently, which may result in poor dehumidification and discomfort. That is why proper sizing matters after installation as much as it did during planning. A general sizing guideline is about 20 BTU per square foot of living space. But insulation, window size, shading, room height, and local climate also affect the right capacity. Read more about budgeting for your new AC installation and the factors that should be reviewed before equipment is selected.
Open the supply registers and confirm that air is moving from each one. Make sure return grilles are not blocked by furniture, curtains, or boxes. Compare airflow between rooms, but do not expect every register to feel identical if the duct runs differ in length or design. A noticeably weak register, whistling grille, or room that receives little air deserves the technician’s attention before the crew leaves.
Also check that the filter is installed in the correct direction and that access panels are closed securely. The technician can explain where replacement filters belong and which size to purchase.
During startup, listen for unusual grinding, rattling, buzzing, or persistent vibration. A brief click or startup sound may be normal, but a new noise that continues or grows louder should be investigated. Outside, look at the condenser and confirm that it sits securely on its pad with no packing material, tools, or debris restricting airflow.
Ask where the condensate drain line discharges and inspect the area for proper drainage. Cooling equipment removes moisture from indoor air, so water should move through the intended drain path rather than collect around the indoor unit, overflow pan, wall, or foundation. Report standing water, a wet ceiling, or a rapidly filling pan immediately.
Before the installer leaves, confirm that the warranty registration requirements are clear. Ask whether registration is completed by the homeowner, contractor, or manufacturer, and keep the model and serial numbers with your installation records. Save the invoice, equipment documentation, permit information if applicable, and the technician’s startup notes in one place.
Finally, schedule the first maintenance visit according to the manufacturer’s recommendations and your contractor’s guidance. Regular professional care helps identify airflow, drainage, and electrical concerns before they become larger problems. If you still need new AC installation and replacement guidance, Garland Heating and Air Conditioning can help you review the system and next steps.
Schedule Your AC Installation with Garland Heating and Air Conditioning. Share your floor plan and access details with our team so we can prepare for a smooth, efficient installation day.
Clear furniture and clutter away from vents, hallways, the indoor equipment location. And the path technicians will use to remove the old system and bring in the new one. Protect or move fragile items, and make sure the electrical breaker panel is easy to reach. These steps give the crew a safer, more efficient workspace.
Usually, yes. Trim shrubs, branches, and other growth around the outdoor condenser location, and remove nearby debris. Technicians need working space around the equipment, while the finished installation needs adequate airflow. Ask the installer how much clearance is appropriate for your selected system and property.
Remove obstacles near supply and return vents, clear the area around the indoor unit, and open the route from the entry point to the work area. If the installation involves an attic, closet, or utility room, remove stored items that could limit access. Keep children and pets away from the work zone until the crew has finished.
The outdoor condenser needs a stable, level equipment pad. If the existing base is uneven, damaged, or poorly positioned, the installer may recommend leveling or replacing it before setting the new unit. A site assessment can also identify drainage, access, and clearance concerns before installation day.
Preparing your space in advance can help your installation appointment stay focused and organized. When you are ready to discuss the next step, schedule service with Garland Heating and Air Conditioning. Share your project details so the team can better understand your home or business and help plan the installation process.